
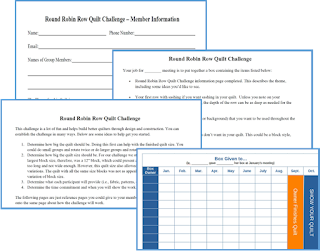
Resizing Quilt Block Using a Grid
 |
| Atlas Star Quilt Block Designed by Gina Perkes |
The block we will be working with is called Atlas Star and was designed by Gina Perkes of The Copper Needle. This block was part of a quilt challenege that the National Quilt Circle held in 2018. You can obtain the block and a color sheet at their website here.
 |
| Flying Geese |
 |
| Half-Square Triangle (HST) |


Fabric F is the center. Remember that the 4.5" is the cut size and not the finished size. So in order to determine the finished size, remove the half-inch seam allowance; giving a 4" square. To determine how big each grid block is using the 8-grid, it is easy to see that each grid would be 2". There are 8 grid block and if each is 2" the whole block equals 16". If I knew the finished size was 16" to begin with, then I could have simply divided 16 by 8 grid blocks. However, the pattern did not state the finished size.
With that being said, if I wanted to figure out what size each grid block would be if I wanted a 12" block, I could simply divide 12 by 8. I have to admit, I do not always have a calculator in my sewing room. It is something I should get. But let's continue instead with the grid. Since 8 does not go into 12 easily, I transformed the 8-grid into a 4-grid because then I knew each of the 4-grid blocks is 3" and can easily divide that by 2 to get size for each grid block in the 8-grid. This is 1.5". Remember, this is the finished size. Using the original cut guide, remove the seam allowance before changing the cut size to the new cut size and then add the seam allowance back. Here is the new guide.

Will this work on sizes of grid blocks?
Although you could resize all grid blocks this way, not all grid blocks sizes lend themselves to a good cutting size. For example, if I wanted to increase a 10" block that fits a 5-grid that would not be easy. After all, 5 into 12 leaves 2-2/5" or 2.4". I don't want to cut that. In this case, you would have a couple of choices. This might be where a copier comes in handy. Simply load the 10" quilt block and copy it at 120%. Then cut out each of the blocks, but remember this is finished size so you need to add your seam allowances. Alternatively, you could just add a border around the block to get it to the 12".
I hope this helps you resize those blocks.
Comments
Post a Comment